Welcome to part two of the infamous pumpkin tunnel that is breaking the internet…okay, maybe not the internet, but at this point we have over 100,000 people invested in this thing over on social media and it’s becoming quite the entertainment and story.
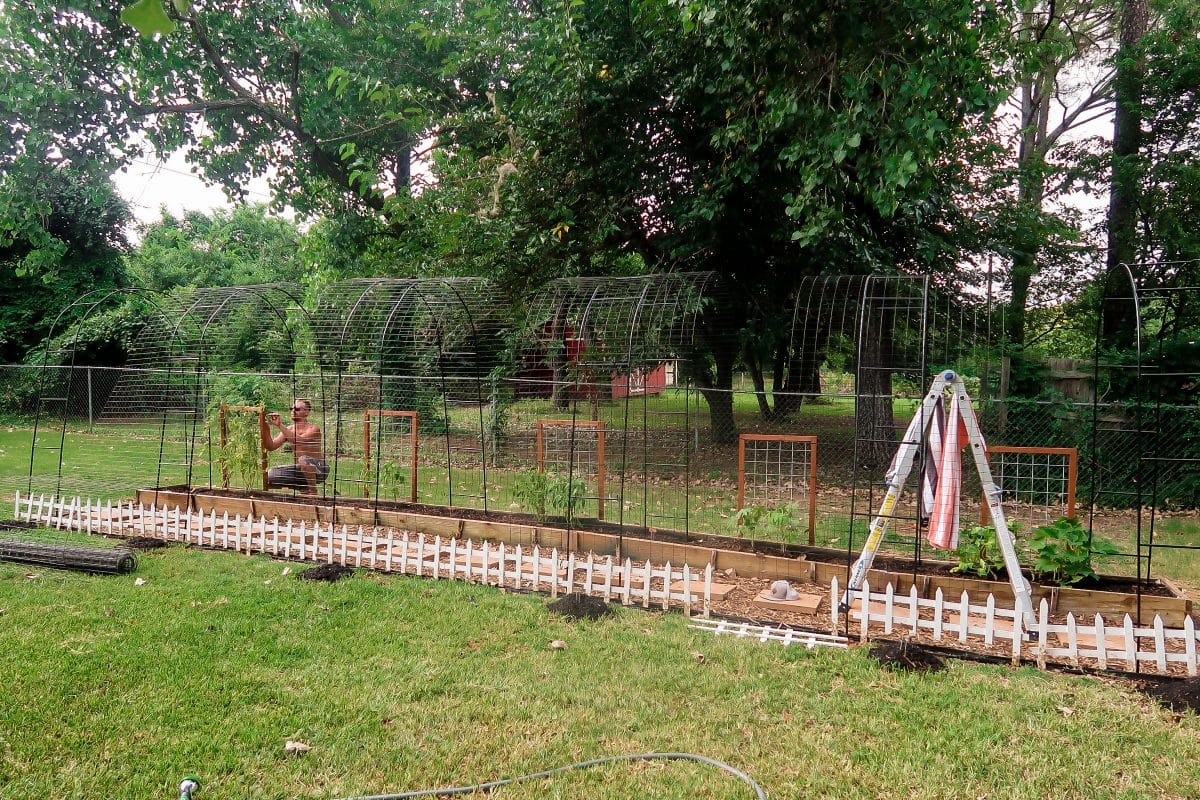
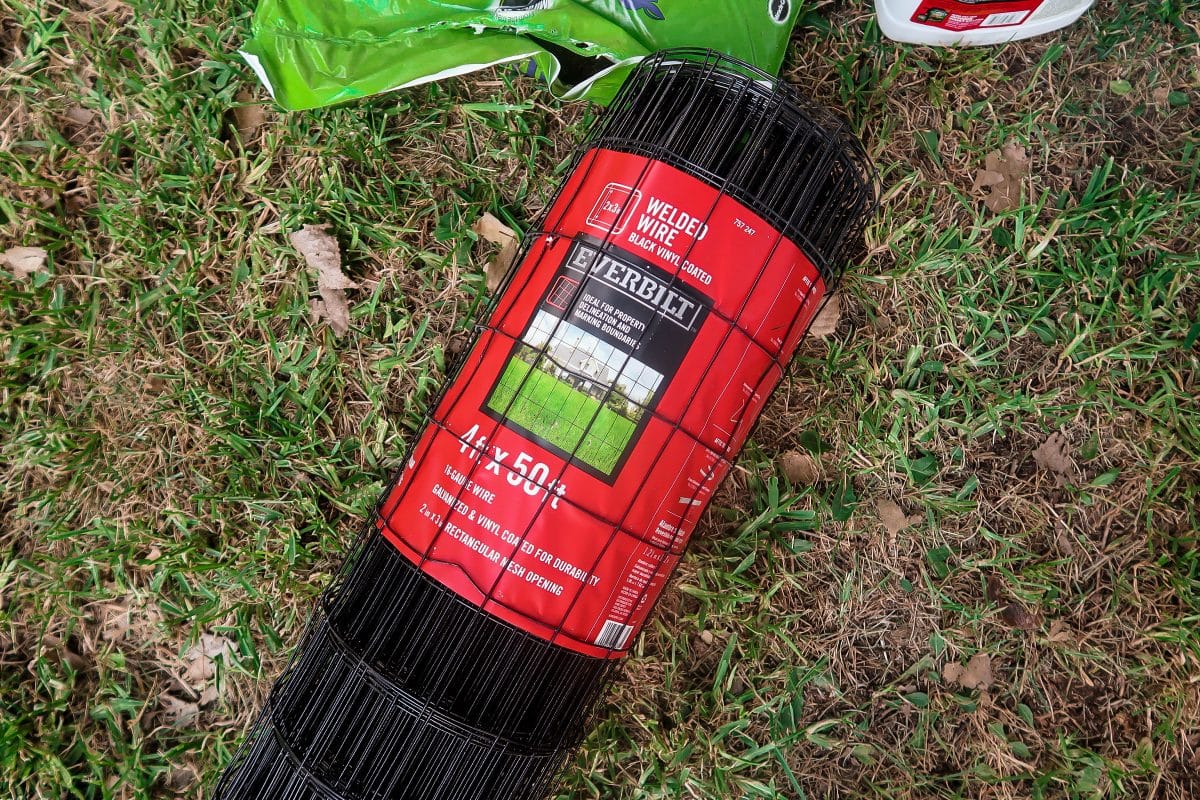
A few months back we created an outdoor habitat for our rabbit using welded wire as the fencing and it gave me the idea to connect the five pumpkin arches together using the same fencing. It’s much thicker and more sturdy than chicken wire…and it’s black. So aesthetically it was what I was going for. Trey helped me big time with this part of the project, so we can add him to the list of people who have a hand in the tunnel now. Cutting the wire to size and zip tying it to the arches is what created the tunnel…and now we can really call it a pumpkin tunnel. There are only two ways in and out and it’s at the ends of the tunnel. After adding the wire to the tunnel we decided to remove the white picket fence border. It was cheap, falling apart, and about to be covered completely by pumpkin plants so we needed to get it out before the plants started to wrap around it.
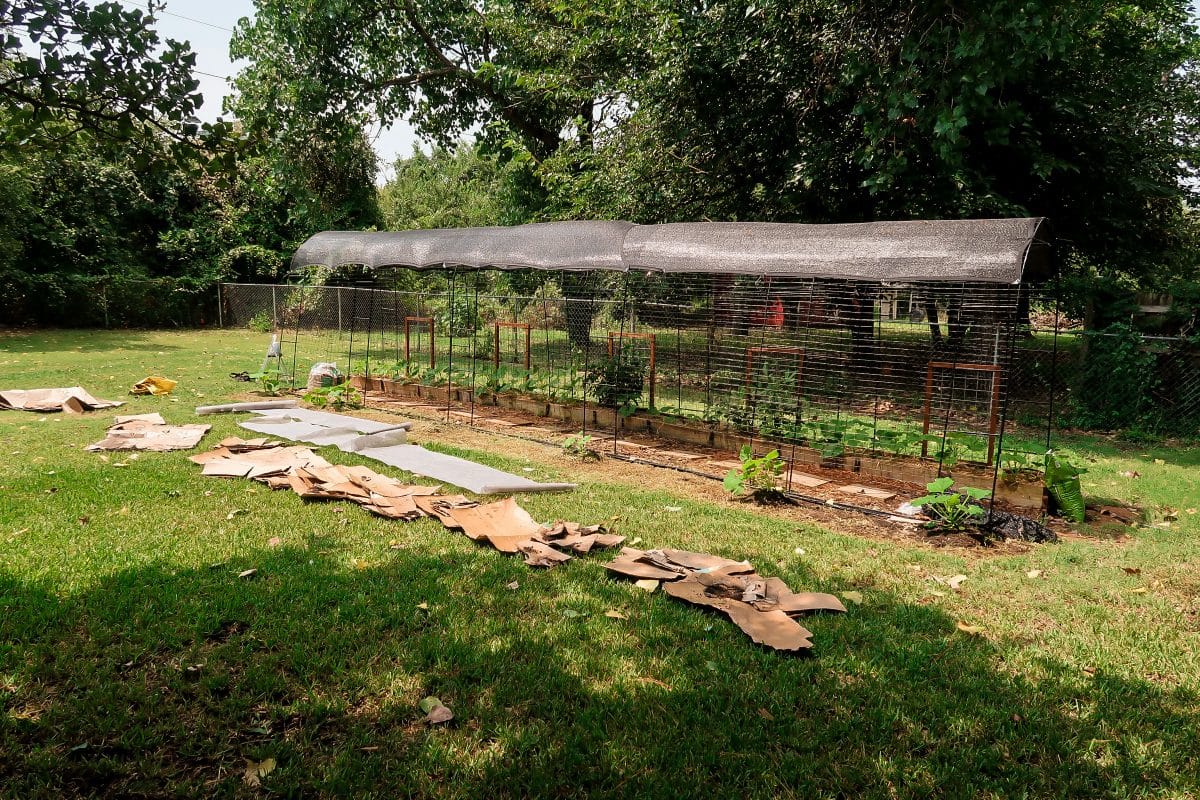
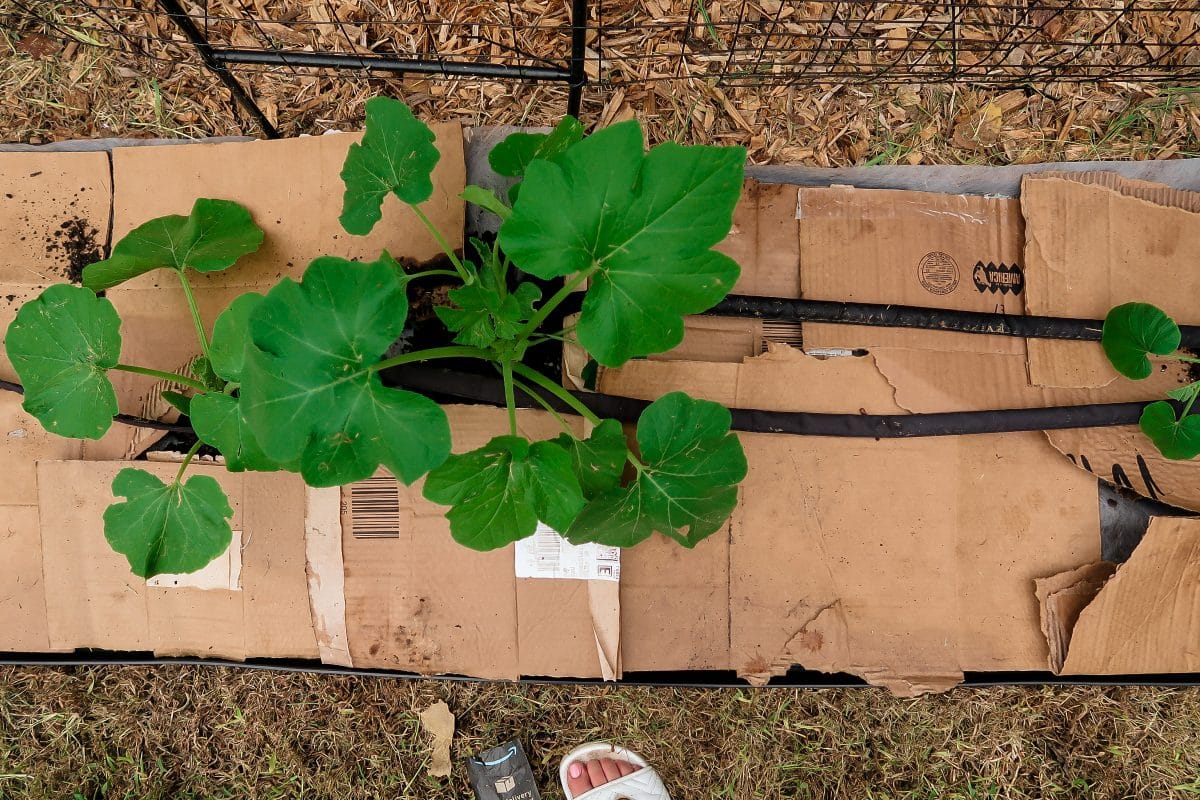
I also realized how difficult it was going to be to keep the weeds and grass to a minimum between the plants outside of the bed… well, not even just difficult.. impossible. And I had been seeing people creating flower beds and using boxes to cut back on the weeds so I decided this was the perfect time to give it a shot. I put the boxes down for a week to see if it would work before I created the actual bed and I was pleasantly surprised when I pulled them all out and the grass under was completely dead. I decided it was time to set up the bed.
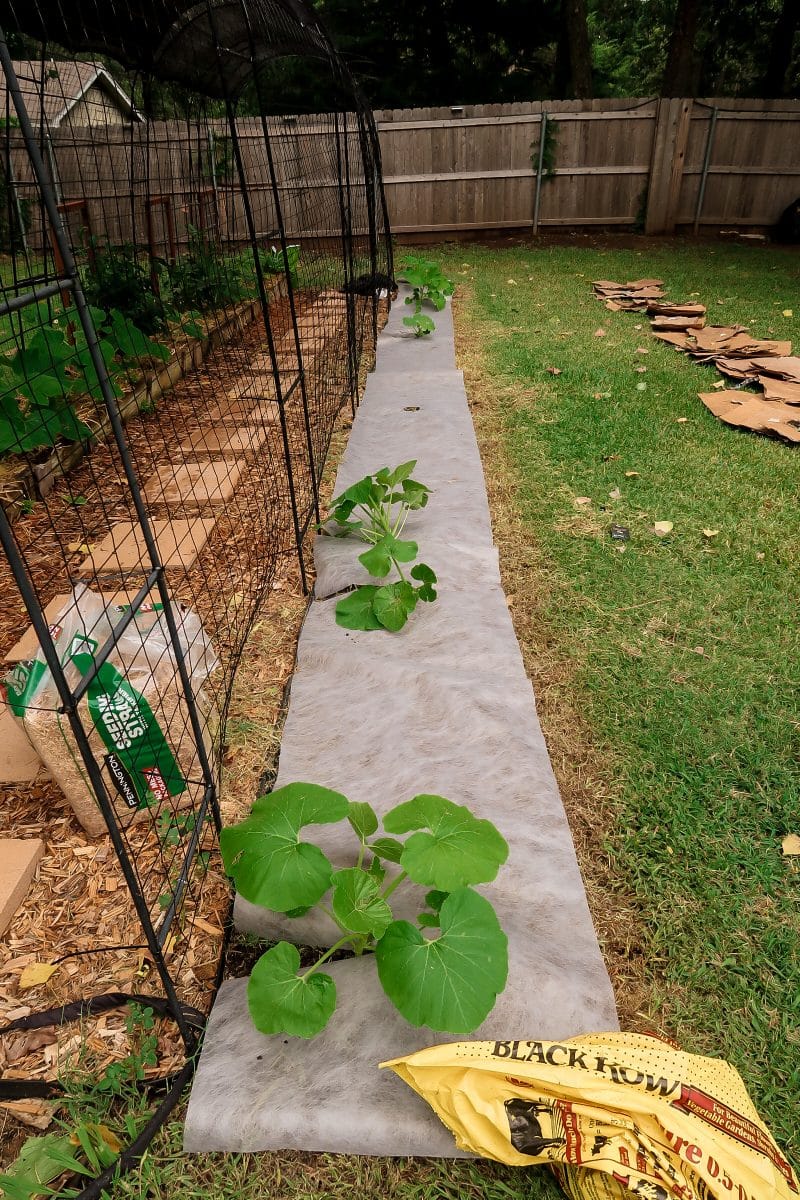
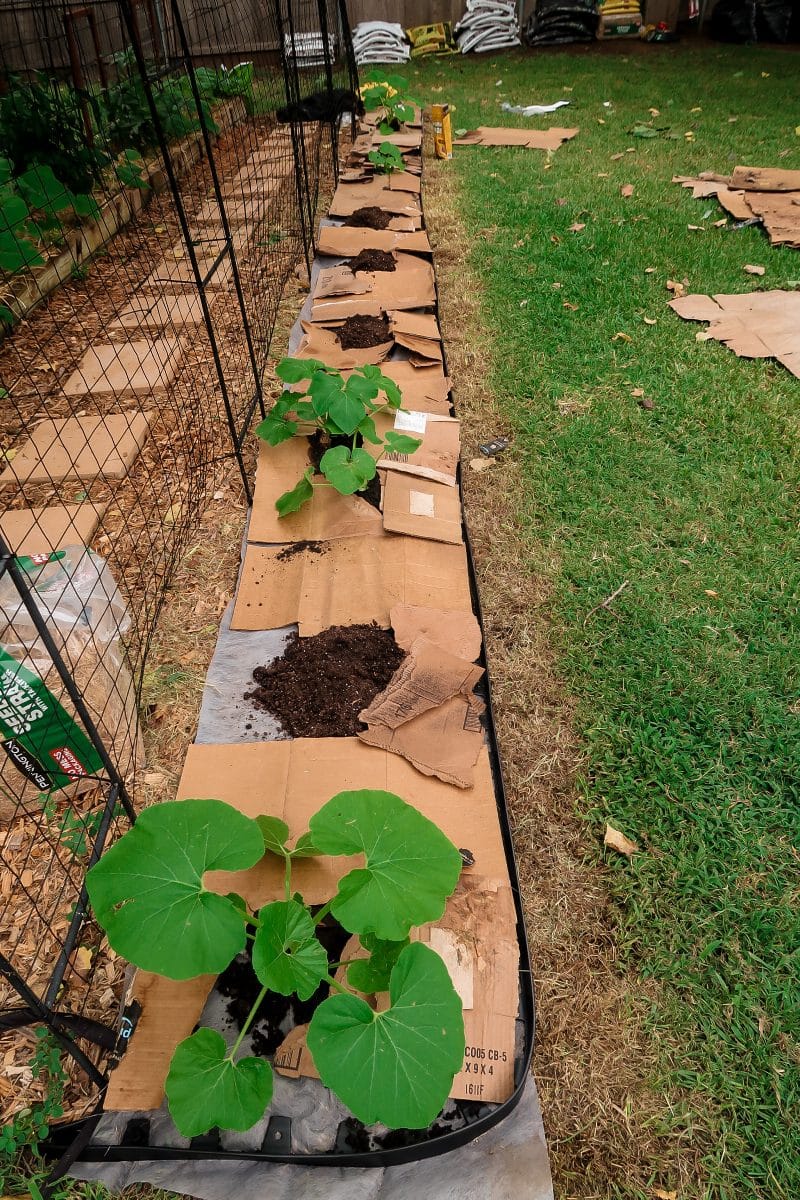
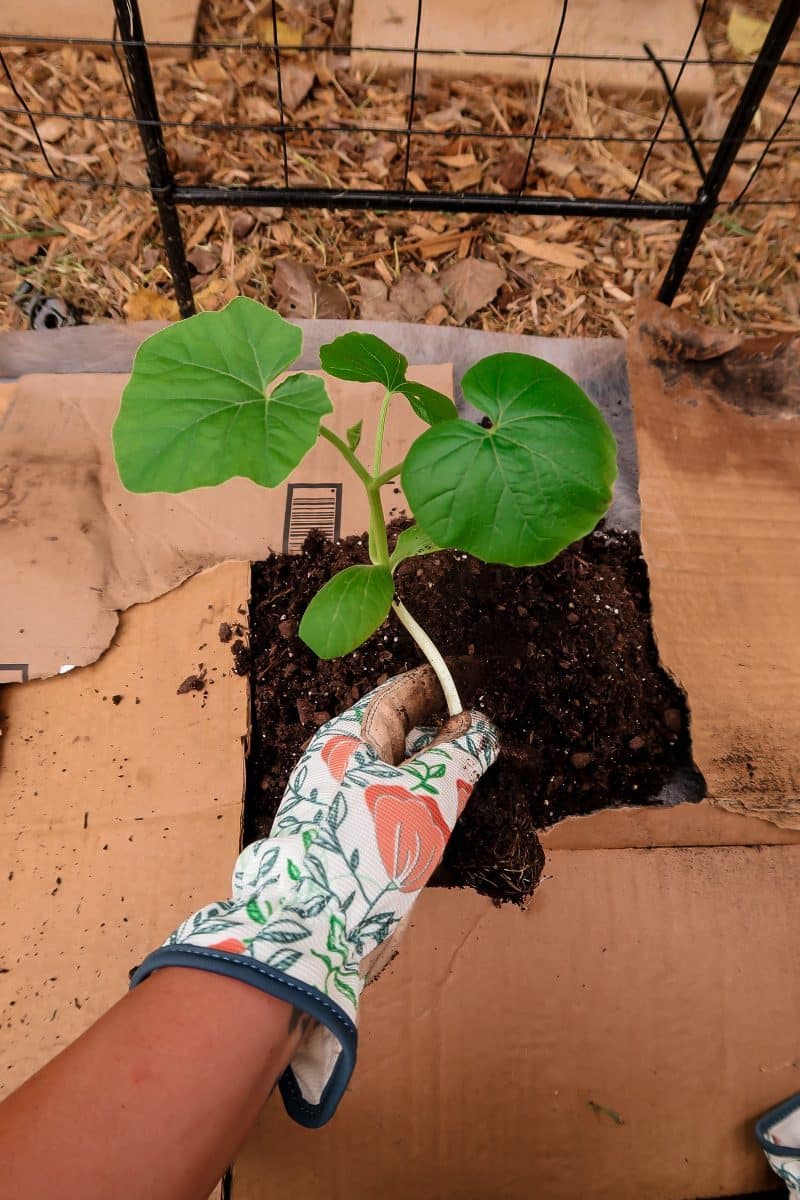
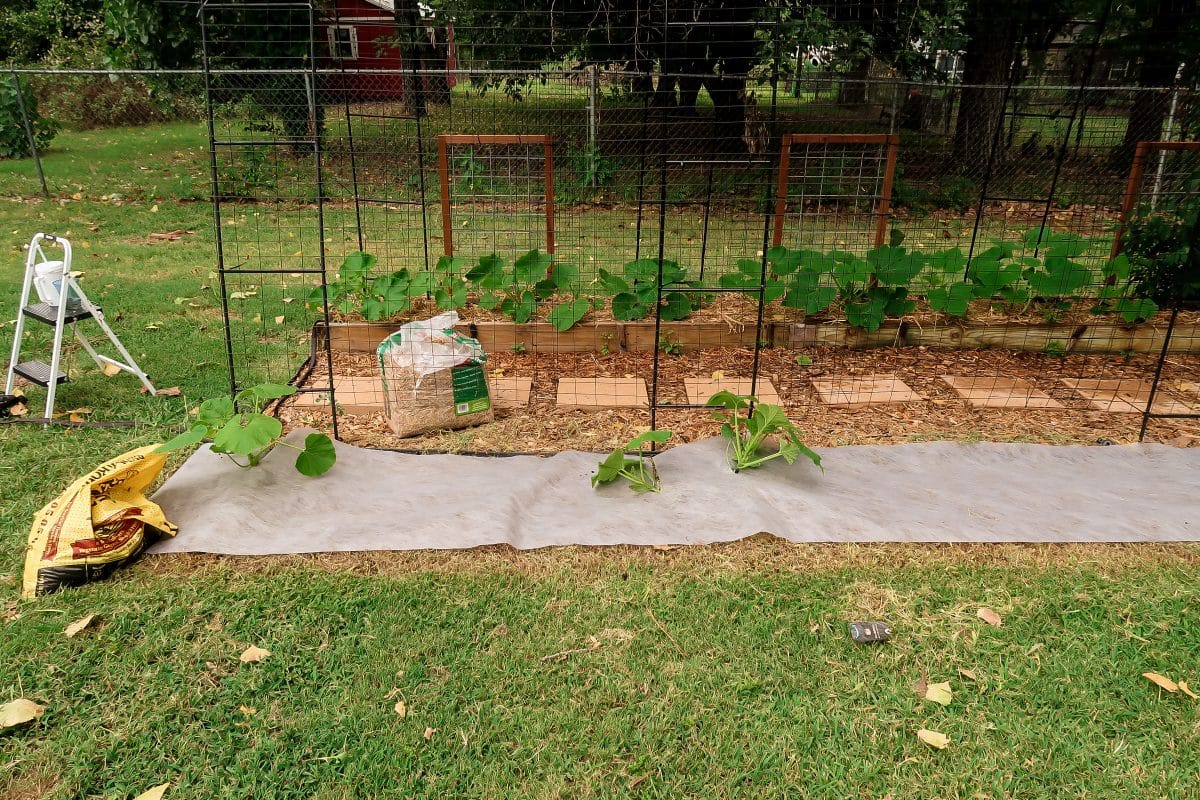
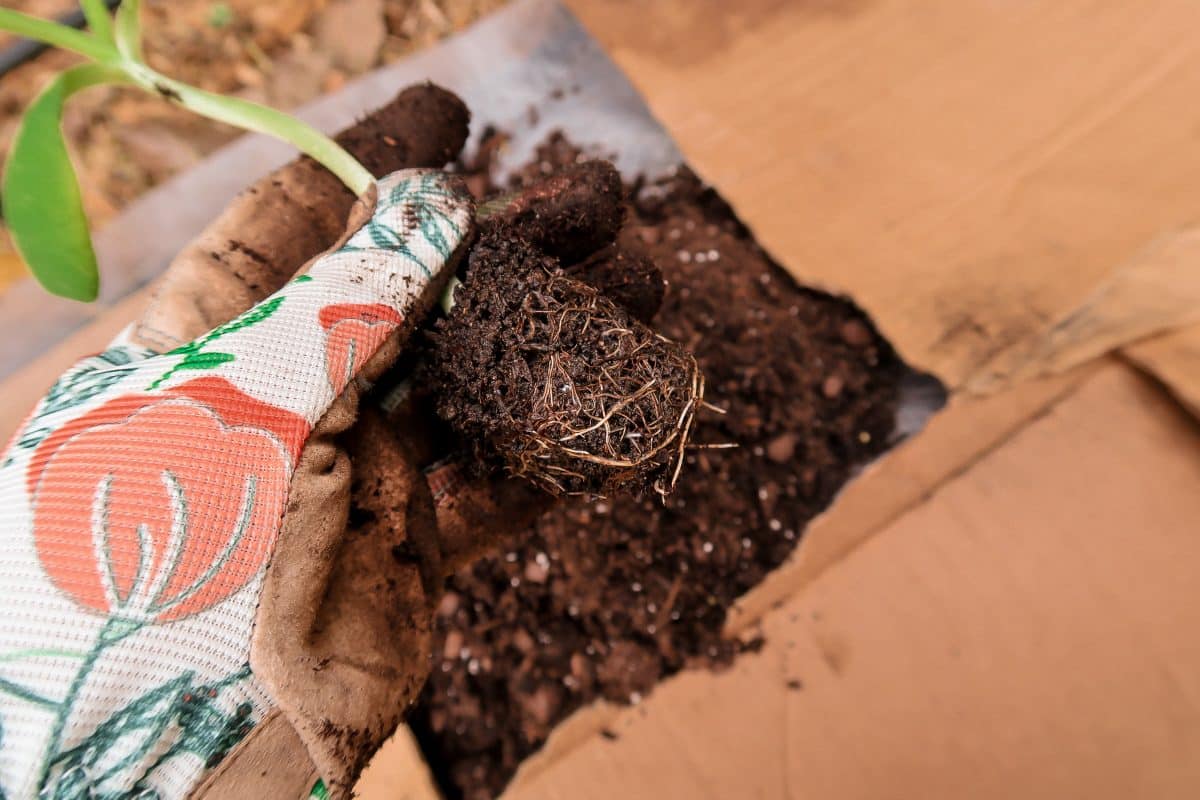
I didn’t till the ground before hand because that’s kind of the point of the boxes. It’s no till gardening and being pregnant, I was here for that. I started by putting down some land scape fabric and cutting around the plants in the ground as well as cutting holes for the transplants that were still in the seed cell trays because this was when I transplanted them over.
After placing the fabric I went back in with the same soil mixture from stage one of the pumpkin tunnel to create new mounds for the transplants then put a landscape trim around the bed and covered any of the fabric I could see with the boxes. I plan to do another no till garden bed soon and will give exact step by step on how I do it at that point!
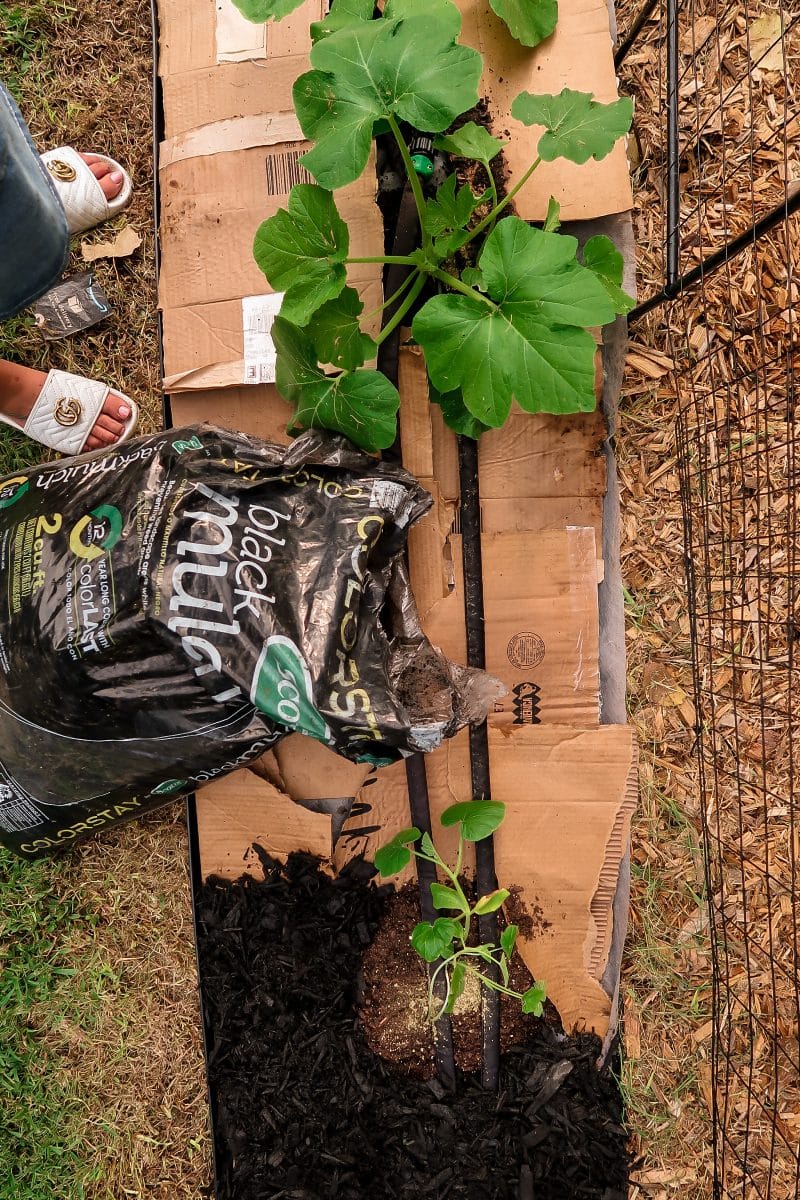
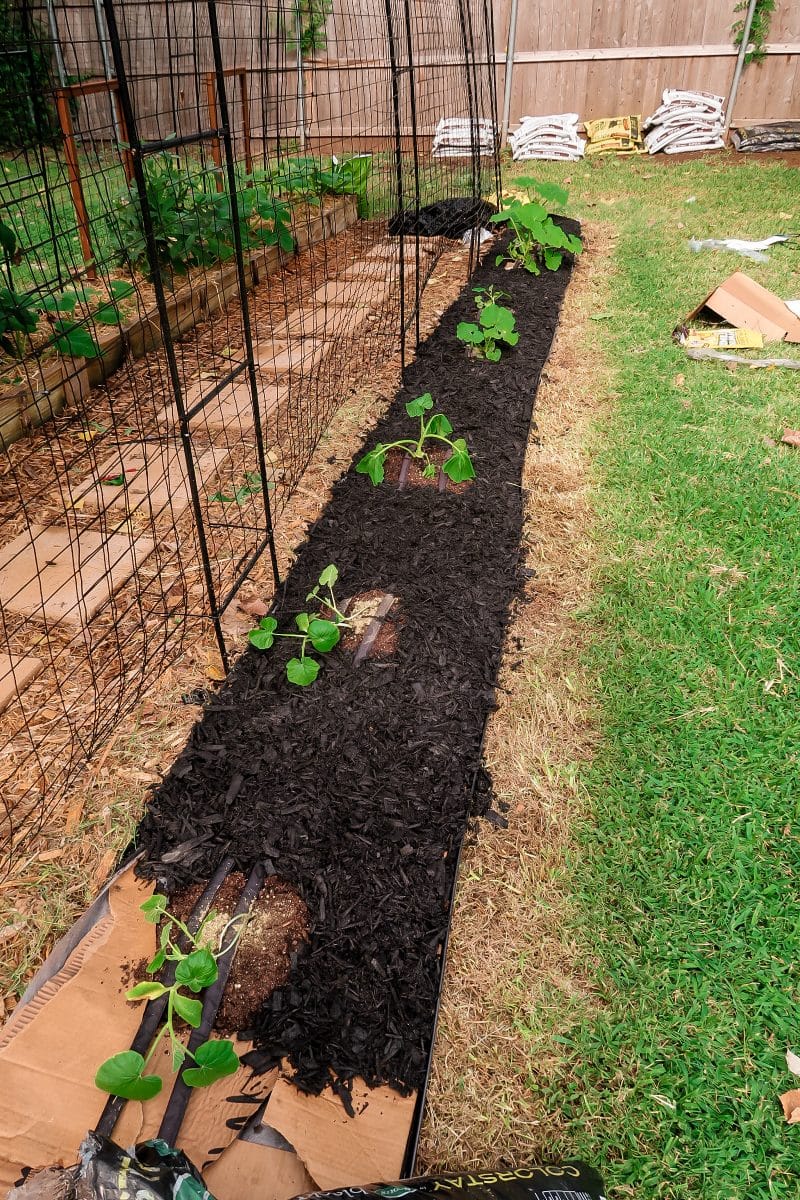
After planting all of my pumpkin transplants I ran my soaker hose through the bed and covered the boxes with mulch. The boxes will decompose eventually and create some great soil/compost here and I’ll be able to plant all kinds of stuff on this tunnel after pumpkin season is over. Maybe sweet peas in the spring or other vines. I haven’t decided yet.


